Langoustine Marinated In Ouzo and Garlic ©
Just delicious!
Perfect for a special occasion !

Easy
Ingredients
4-6 langoustine per person
6-8 cloves of garlic
A generous slug of Ouzo 100-200ml! Or Metaxa brandy!
3 tbs fresh chopped parsley
A generous drizzle of olive oil or butter
Salt and freshly ground black pepper
1 chilli finely chopped ( optional)
Garnish
2 tbs chopped parsley
Lemon quarters
Method
1. Very Important : Choose very fresh Langoustine! How can you tell?
a. They should be alive! Pick one up to make sure it is still moving. If not alive, they should be tightly curled up and bought from a reliable source. Once they are straight and floppy, they are not fresh and once cooked the flesh will be like cotton wool if not fresh!
If you buy frozen, de-frost and then marinade.
They say the colder the waters the Langoustine are caught in , the better the quality and it is for this reason that the Scottish ones are so prized. Having said that the Greek ones caught off where I live in Greece are excellent!
b. They should smell fresh.
c. They should be a good red colour and shiny. Unlike other crustaceans, langoustine don’t change colour when they are cooked.
The most important factor is point ‘a’ because they are often kept on ice too long, smell fresh and look shiny, because the fish-monger sprays his produce regularly with water, but one thing that can’t be disguised is if they are straight and floppy.
The books always say use a reliable Fishmonger, but on ‘Lenten Days’ you will be surprised what is sold just to please the client as far as availability is concerned. Once you have cooked them and they are like cotton wool, it is too late!
They should be cooked the same day that they have been caught and this is possible if buying from your local Fisherman, from whom you have pre-ordered them. If for example you buy them in the morning for lunch or for the evening KEEP THEM IN THE REFRIGERATOR in a box, covered with a newspaper, until you are ready to cook them.
2.Wash your Langoustine in salted water and lay on baking tray.
3. Peel and finely chop garlic with a knife, don’t use a garlic squeezer. Chopped garlic gives a little crunch and the uncooked garlic in the centre gives more flavour.
4. Chop parsley and place in bowl with garlic, Ouzo, salt, pepper, chopped chilli (Opt) and olive oil.
An alternative is to use Metaxa Brandy and butter, instead of olive oil and Ouzo. This is also excellent.
5. Pour your marinade over your Langoustine and leave to marinade in the fridge for half to one hour.
6. When you are ready to cook them, pre-heat Grill or Barbecue and grill for one minutes on one side and 30 seconds on other side. The Langoustine should become a little charred, which adds to the flavour.
They can also be boiled. Plunge them into boiling water for 2 minutes and then into cold to stop cooking process. Serve with home made mayonnaise and lemon quarters. ( See Mayonnaise, under ‘Sauces’ in Index.)
Important : The test to know if they are cooked or not is to take one, turn it upside down and through the transparent tail section the flesh should look white and not opaque or jelly like.
7. Serve immediately, sprinkle with additional chopped parsley and lemon quarters.
8. The meat is in the tail, turn upside down and press sides together. The shell cracks and you can pull the flesh out. Remove the dark vein that runs along the back. Use crackers to extract the meat from the claws.
N.B. Always provide along side, a large bowl or individual bowls of warm water, with slices of lemon to wash fingers.

Choose live, curled up rigid, fresh smelling Langoustine. Rinse in salted water.

Peel 6-8 cloves of garlic.

Chop garlic and parsley. ( Chopped garlic is more flavoursome than using a garlic press for this particular recipe.)

Mix garlic, parsley, salt, pepper Chilli and Ouzo together in a bowl.

Pour marinade over Langoustine on Baking tray and marinade for half to one hour in the refrigerator.
Remove from refrigerator ten minutes before putting under pre-heated grill or on the barbecue. Grill one minute on one side then 30 seconds on other side, or until just getting a little charred. This gives added flavour.

Sprinkle with freshly chopped parsley and serve immediately along with lemon quarters.
In the above photograph I have turned over the middle one so you can see the white flesh showing through. This means it is done.
If it is still jelly like and see-through, it needs more cooking.
Final result, just delicious!
Greek Yogurt Cake ©
My favourite Cake !

One candle for every month of the year!
Once upon a time in the ‘Good Old Days’ as we have come to call them, a very dear family friend used to make us this delicious cake.
She was an excellent cook and was from that generation that loved to make anything one asked her for.!!!! It was always for a special occasion that she made this cake, all cozy in the kitchen and out would come the cake tin! A buzz of excitement filled the air and us children took up our positions around the table to watch the fascinating process of making the cake. There were no ‘Mixers’ in those days, or certainly not where we lived on the island, so all the mixing was done by hand and after much beating and hopefully a little left for us girls to scrape from the bowl, into the oven the cake went. The house soon filled with a mouth watering smell of freshly baked cake, the kettle went on, the fire was lit and down we sat to a scrumptious tea.
This is the original recipe, which I have kept all these years safely in my recipe book.

Greek Yogurt Cake With Lemon Icing
Medium Easy
This is a good old fashioned large Cake and will easily
be enough for 15-20 people.
Oven Temperature 200.C/400.F
Cooking Time 30 to 40 minutes.
Ingredients
200g full fat ‘Total’ Greek yogurt or sheep’s yogurt
200g white caster sugar
200g butter which has been out of refrigerator for 1 hour to soften
600 g self raising flour or plain flour and 4 tsp baking powder
5 whole eggs
Juice of one orange or blood orange (125 ml)
Zest of Seville Orange, or if not available 1Valencia orange zest
Melted butter for greasing cake tin and 1 tbs flour for dusting cake tin
A dash of milk, if cake mixture is too stiff
Lemon Icing
1 medium lemon juice
1 lemon zest,
200 g icing sugar or enough icing sugar so that icing coats the back of a spoon once the lemon is added.
Method
1. Pre-heat oven to 200.C 400.F. Place shelf slightly lower than the center. Take butter out of fridge 1 hour before to soften, or it will be very difficult to beat together with sugar.
2. Melt a little butter and grease cake tin using a pastry brush. Your cake tin needs to be 26 cm in diameter and 7.5 cm deep. (This is important.) This is the standard size of a large cake tin. The one I use is non stick and has a spring bottom. The bottom I used for this cake is the patterned one with a whole in the middle. If your cake tin does not have a whole in the center, it may take longer to cook. Use classic skewer test for readiness.
3. Once your cake tin is well greased, bottom, sides and center funnel, add a teaspoon of flour and shake well around the inside of your cake tin. Then turn upside down and sharply tap over your sink, so that only a very fine layer of flour remains. If too much remains it will show when you turn out your cake.
4. Gather all your ingredients together. Place butter in large mixing bowl, add sugar and mix with whisk for at least five minutes until light and fluffy. This is the most important part of all cake making as the most air is beaten in as the sugar dissolves and the butter softens. Sieve flour into separate bowl, so that it will have been sieved twice in all. This also adds air and gives you a lighter cake.
5. Then add your eggs one by one and beat until mixture stiffens again and your egg is thoroughly incorporated. Because there are a large amount of eggs in this recipe, your mixture can easily curdle, which would be a pity as you lose a lot of air. Should this happen add 2 table spoons of flour and it will right its self. The best way is to add the eggs slowly and it will not curdle. Always break open eggs into a separate bowl first, incase one of the eggs is fishy/bad. At least this way you don’t lose all the cake mixture.
6. Now add your yogurt, mix well and add ‘finely’ grated Seville or Valencia orange zest, grated on the fine zester. Your mixture will now be very liquid. Add half your orange juice. Reserve rest for next stage.
7. Sieve half flour over your cake mixture. Always fold in by hand, using a spatula, cutting across your mixture, lifting and folding over. Give a half turn to your bowl anti-clockwise and repeat until partially mixed in. A Mixer does not do this as well as by hand. By hand more air is incorporated. Then pour over the rest of your orange juice and sieve over rest of flour. As you mix, you should have a pliable dough mixture. If, due to differences in flour, your mixture is very hard work to fold, add a little extra milk. My mixture was a bit too stiff, so it produced more cracks in the final result. In this recipe I have slightly reduced the quantity of flour. It rose amazingly though to 10 cm !!!
8. Spoon into cake tin and make a small groove round the middle of the cake, like a canal, so that it rises evenly.
9. Place in ‘Center’ of preheated oven. In other words your shelf should be slightly lower than the center of your oven.
10. Bake ‘without’ opening your oven door, during cooking. This is very important or the draft causes the cake to fall. Once the cooking time is up, open door just enough to be able to test with a skewer in the center of your cake. Only if it comes out clean, right to the bottom, is your cake ready. If skewer is not clean, leave cake another five minutes and test again. You don’t want to over cook it, or it dries out and you want it nice and moist.
11. Once cooked, remove from oven, leave five minutes in tin to slightly shrink. Run knife around the outer and inner rim and turn out onto cake rack to cool.
12. In the mean time, place icing sugar in bowl. ( Be sure to buy non ‘lumpy’ icing sugar, or you will need to sieve it first.) Add lemon juice and ‘finely’ grated lemon zest and mix well. The consistency should be that of thick cream and should coat the back of a spoon, so that when you spoon it over your cake it does not all run away and remains mostly on the cake!
When your cake is ‘completely’ cold spoon over icing. This icing could also be Orange or Tangerine flavoured.
N.B. Follow these instructions carefully, as they are all given to help you attain the best result, a light fluffy tasty cake!


Melt butter, grease cake tin thoroughly, add a teaspoon of flour and shake all around your cake tin.
Turn upside down over sink and give your tin a sharp tap for excess flour to fall out.

Pre-heat oven to 200.C/400.F
Gather your ingredients together.


Break eggs into bowl.

Sieve flour into bowl. This adds air to your cake.

Choose a nice Valencia or Seville Orange with a clean outer skin, so that you can grate the zest.

Grate zest very finely.

Gather all your prepared ingredients together, before starting to mix your cake. Once you start you want to continue
until you put your cake in the oven, as any delays mean you lose the air out of your cake and it will be heavy! So leave
that phone call for later, as you are making an important cake!

Mix softened butter and caster sugar until light and fluffy. This takes five minutes, no less.

Add eggs one by one and beat until mixture stiffens again and the egg is thoroughly mixed in. This should not be hurried,
or your cake mixture will curdle. If it does add 2 tbs flour and it will come right again.

After adding all your eggs, your mixture should look like this. Light, creamy and fluffy. Now add Yogurt.

Add orange zest, mix thoroughly and then add half your orange juice. This is about all the liquid the mixture can absorb
at this stage. Any more and it will curdle.

As soon as you stop beating you will see the bubbles of air rising up. If left to stand all the air you have beaten into your
cake will pop out and be lost, so get on straight away and add your sieved flour.

Sieve half your flour into your cake mixture.

Fold flour always in by hand, don’t use mixer. By hand your cake becomes much lighter.
Fold by cutting across, lifting and turning your mixture lightly over. Give your bowl a half turn anti-clockwise and repeat
until your flour is partially mixed in, then add rest of orange juice and flour and mix until flour is just incorporated.
Don’t over mix, you will lose air. See this last stage below.


Turn straight out into pre-prepared cake tin, flatten out very lightly on top, adding a small thumb line indentation round
the center of cake,so that it rises evenly. ( This is not shown here. )
Place in center of pre-heated oven for 30-45 minutes. After 30 minutes, open oven just enough to test center of cake with
skewer. It is cooked if it comes out clean. If not leave another 5 minutes and test again. Do not take cake out to do this,
the cold air will cause it to shrink.

Take cake out of oven, leave to shrink five minutes as it cools and run knife around out side and inside ring.

Release spring bottom cake tin.

Turn out onto cooking rack. There was so much air beaten into this cake it rose 10 cm and has lots of lovely holes.
This is a sign of a lovely light cake.

Leave to cool.
ICING :


Mix well, add more icing sugar if necessary so that it coats the back of a spoon. Spoon over cake……


Beautifully light and crumbly. Plenty of holes showing lightness and aerated texture.

Tea Time !
Bean Salad ©
Here are some of the typical foods cooked on Kαθαρά Δευτέρα, Clean Monday, which marks the beginning of Orthodox Lent in Greece. Greek Lenten dishes are some of the best recipes in Greek Cuisine.

Lagana Flat bread, Bay Prawn, Lenten Dolmades, Seskoula Greens, Taramosalata, Olives, Artichokes alla Polita, Octopus
and Black Eyed Bean Salad with chopped onions and fennel.
It is a delicious feast and most of the recipes are already in my Blog, but today I will be adding the Bean salad and soon after the grilled Bay Prawns or Langoustine.
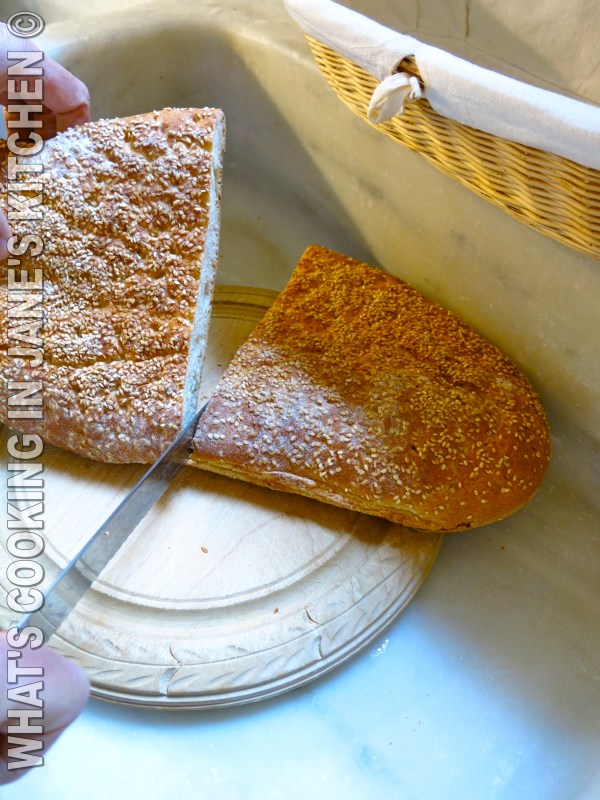
” Lagana,” flat bread, traditionally only made on this day.
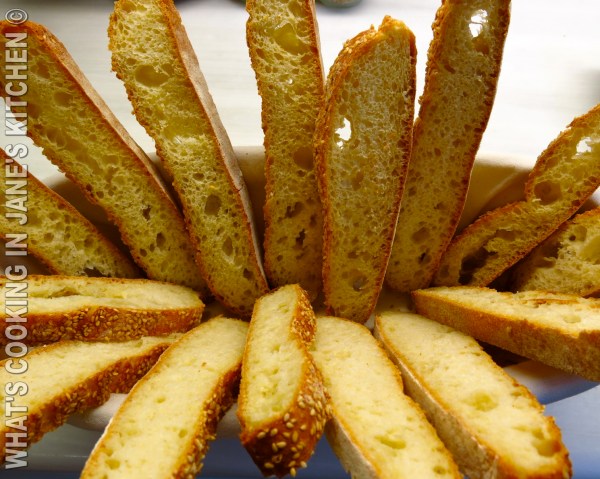
Lagana cut into strips to eat with your food, especially good with taramosalata! ( See recipe, under ‘Meze,’ in Index.)
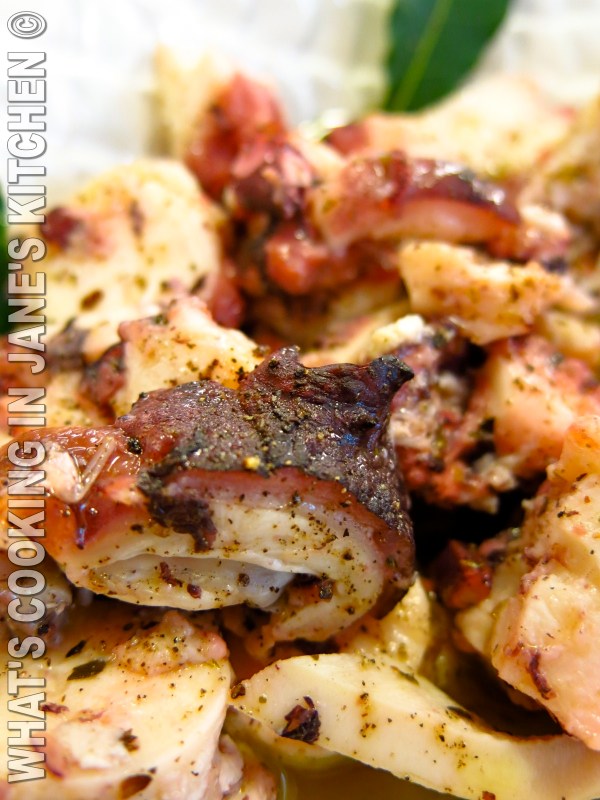
Octopus. ( See recipe under ‘Meze’ in index.)
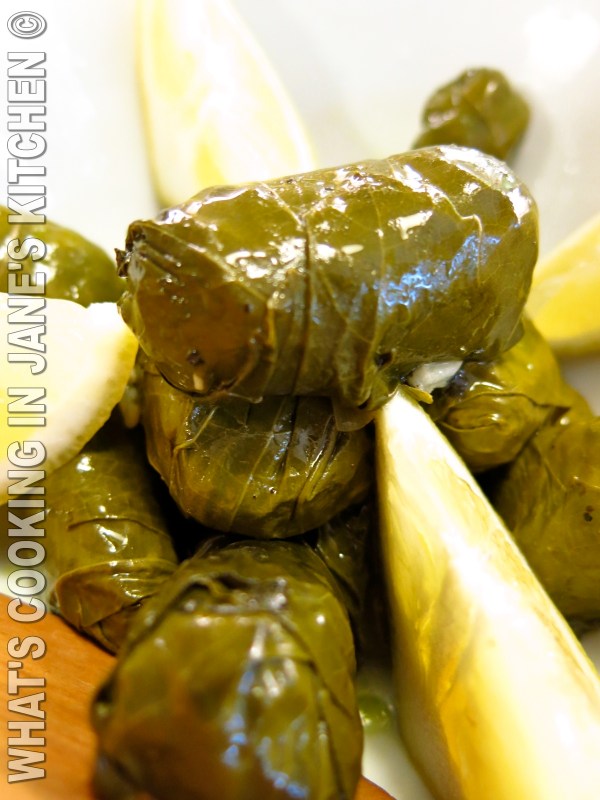
Dolmades. ( See under ‘Meze,’ ‘Dolmades Yalantzi,’ in Index.) These dolmades are ‘Lenten,’ because they are the
recipe with out meat. Dolmades Avgolemono, also listed, are made with meat and egg/lemon sauce.

Green Olives ‘Tsakistes,’ these are olives which have been slightly compressed, in order for them to split open. This is done either with the heel of your cooks knife or with a rolling pin.
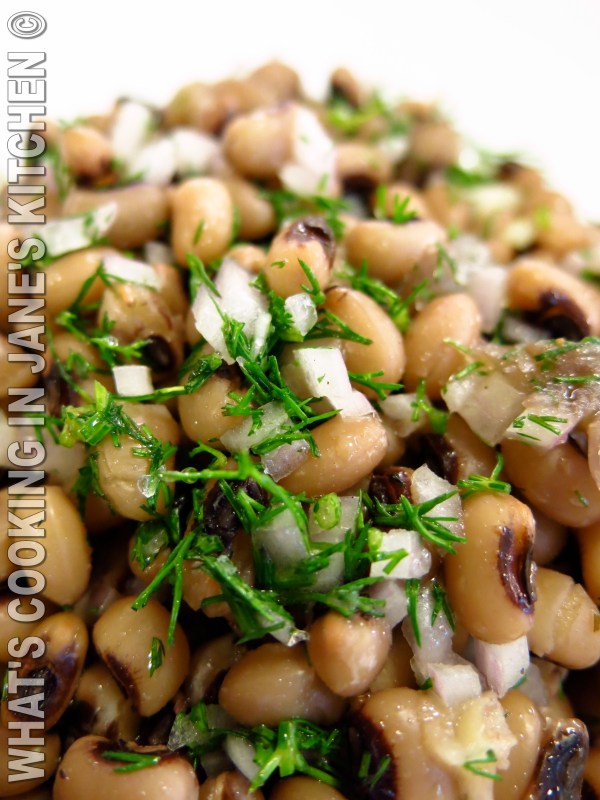
Black Eyed Beans with chopped onion and fennel.
Easy
6 persons
Ingredients
100g Black Eyed Beans
1 Bay leaf
1 small onion quartered
1 onion finely chopped or spring onion
3 tbs chopped fennel or parsley
Generous drizzle of olive Oil
Vinegar or Lemon
Cubed fresh tomato flesh for color, (optional)
salt pepper
Method
1.Place beans in sieve and rinse beans under running water.
2. Place in small saucepan together with a small quartered onion and 1 bay leaf.
3. Bring to the boil and simmer until soft, 3/4 to 1 hour, until soft through out, but not disintegrating.
4. Drain well, remove bay leaf and onion.
5. Place in serving dish and while still hot drizzle generously with Olive Oil. Leave to cool.
6. Add finely chopped onions, fennel or parsley, salt and freshly ground pepper. Add a little vinegar or lemon juice if liked.
7. Leave half an hour for the flavors to amalgamate.
N.B. Do not add salt until your beans are cooked, as the salt makes them tough.

Weigh out your beans, which you have freshly bought. ( They do not keep for ever in the cupboard!) Place in sieve and
rinse under the running tap.

Place in small saucepan together with a quartered small onion and bay leaf for flavor. Do not add salt until the end as
it causes the beans to become tough. Cook 3/4 to 1 hour, until soft, but not disintegrating.
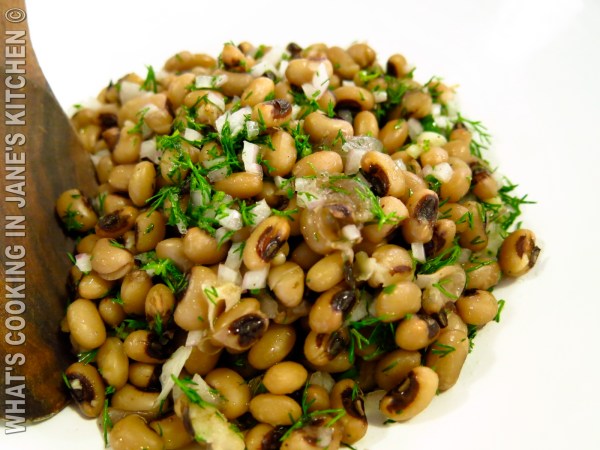
Drain beans well and place in serving dish. Add olive oil generously while still hot. Leave to cool and add chopped onions,
fennel or parsley, salt and freshly ground black pepper. If you want to add a little color, add a cubed tomato, seeds removed.
Sprinkle with a little vinegar or lemon juice. Mix well.
Final result!

Bay Prawn recipe coming up next!
